How to customize your Minecraft skin
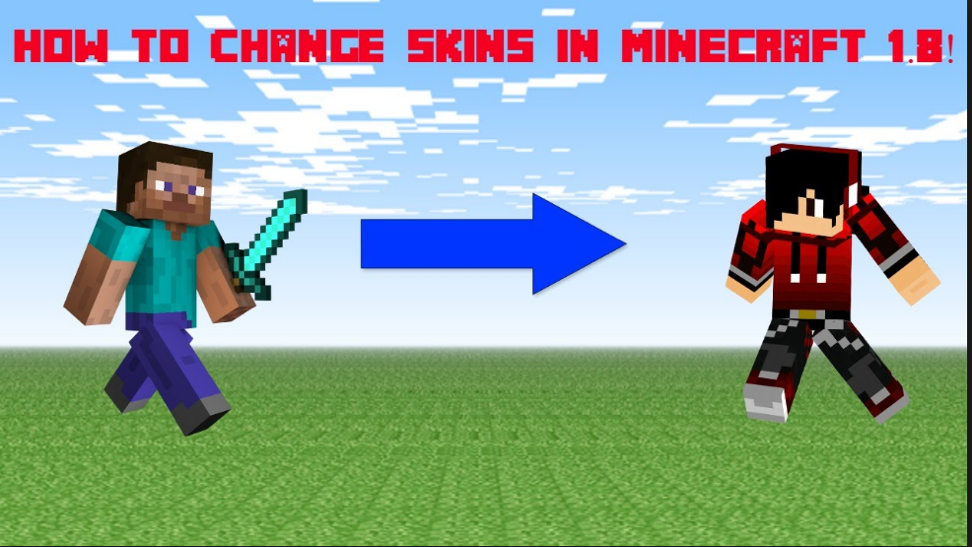
One of the coolest features of the recent Minecraft Edition is the ability to change the player’s skin. By changing your skin, you can play different characters. You can play as a medieval knight, an alien, or as a futuristic soldier.
Skin refers to the way a player looks. Technically, it entails a 3D player structure wrapped under a simple 2D image file hence the name, skin. The default skin that everyone starts off with is called Steve. Though the default skin is decent enough, it is very boring. As such, most experienced players prefer to have their own unique skin by customizing it. Moreover, if you play online, having the default skin screams that you are a beginner. Fortunately, there are many ways to change Minecraft skins easily.
How to change Minecraft skins?
The process of changing Minecraft skins has evolved with time; it keeps on getting easier. There are basically three ways to change your Minecraft skin. These include:
- Using the built-in skin chooser
- Creating your own skin using skin editors
- Installing downloadable skins available on various websites
Using the built-in skin chooser
The recent Minecraft game updates, have made it easier for you to change the skin by choosing from a variety of pre-made skin options in the game. You achieve this by using the Skin Chooser feature. To get started, you need to click on the clothes hanger icon on the main title screen, just below your character. Most of these skins are free, while others need to be unlocked with Minecraft Coins. Preview the variety of skins available and select the one you like.
Create your own skin using skin editors

Experienced players usually want to have unique characters that describe them. You cannot get such a character unless you create your own. These players mainly achieve this through the use of manual image editors such as Photoshop, Paint.net, GIMP, among others. To customize the skin using this method, you will first need to download the original “steve.png” file. Note: Do not alter the original image dimensions and also ensure that the unused pixels (the background of the skin) are completely transparent. Failure to follow these instructions may cause compatibility issues.
The other much easier way is to use online editors. Just like the manual editors, they allow you to customize your players online, download your custom character and upload him to Minecraft.
The best and easiest way: install downloadable skins
The first two methods of customizing Minecraft Skins are quite limiting. Using the built-in skin chooser limits you to the few available skins that come with the game. For you to access more advanced skins, you have to spend real cash through in-game purchases. On the other hand, though creating your own skin using skin editors gives you extensive ability to personalize your own character, the process is time consuming and requires you to have advanced editing skills.
The most ridiculously easy and effective way to customize your skin is to install a pre-made downloadable skin. There are numerous websites that are currently making custom Minecraft skins. However, not all of these websites are safe to use. Though the risk of downloading viruses is not that high, especially because skins are typically small and simple .png files, it is important to stick to websites that have a reputation of offering quality downloads. One such site is the Skins4minecraft.com.
Skins4minecraft – minecraft skins planet
This website allows you to download a variety of skins that have been tailored just for you. It features a wide array of skins to meet the needs of those with the quirkiest preferences. However, if none of the pre-made options meet your preferences, you can as well opt to use an inbuilt feature to customize the skin further.
The process is very easy and straightforward. All you need to do is to visit the Skins4minecraft website and browse through the skins available. Once you find a skin that you like, download it directly to your computer. You can as well edit the skin further before downloading it. The next step is to upload the custom skin file into Minecraft game. Click on the hanger icon just below your character, select the Choose New Skin, locate the custom skin file and upload it.