The essential guide to shoot professional video on your iPhone
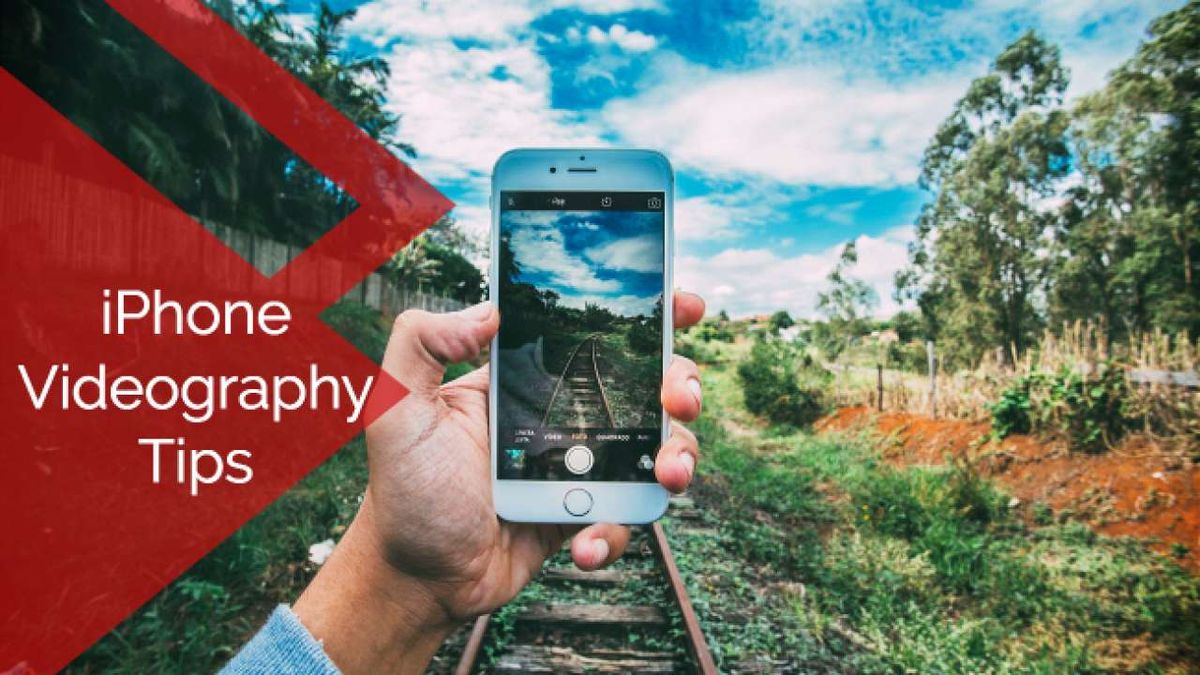
Before reading this post, you need to know that your iPhone camera is more than just a mobile camera. The Camera hardware in the iPhone is very powerful and can shoot professional looking videography in a budget. But there are some of the simple tips you may need to consider before you consider shooting videos from your iPhone device. This post will be a like a essential guide for you to know the essential tips you need to know to make your iPhone videos standout and look professional.
Shooting videos from a iPhone may be preferable over the DSLRs in many situations. In fact, you can’t carry your DSLR camera everywhere.
If you have a iPhone, this is a must-read guide for you.
Tip #1: Don’t use stock iPhone camera app
 The first mistake that newbies make is that, they use the stock Camera app on their iPhone. If you are recording a seriously important video that matters to you the most, shooting from the default iPhone camera app makes no sense at all. The default camera app is only capable of recording the video at 24/Mbps.
As compared to the hardware that iPhone comes equipped with, this is something low.
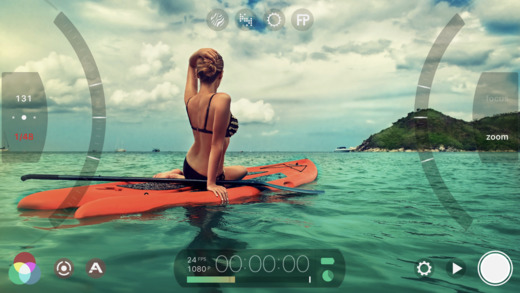
You may consider using a dedicated videography apps like FiLMiC Pro. The app enables you to record videos up to 50/Mbps. That’s more than double the quality the stock camera app on your iPhone can capture.
Along with this, the app also comes with various other features that are quintessential for every serious videographer.
It is premium app, if you are serious about videography on your iPhone, it’s absolutely worth the money.
Tip #2: Don’t let anything disrupt your video recording
These are the most common 3 things that may cause you to stop the recording or even ruin the video entirely.
Low space: Using a dedicated app like FiLMic Pro demands a good memory free on your iPhone device. So, before starting the videography you need to make sure that your iPhone has enough space to hold the video recording at 50/Mbps (mega bits). Or else, your video shooting process can get stopped halfway.
Put iPhone to Airplane mode: As a shutterbug, I’ve experienced this more often. Someone calls you in the middle of video shooting process. This completely ruins the video recording as the screen will be blocked entirely while any call is coming.
Remember to put your iPhone to airplane mode before starting any video recording.
Keep an eye on battery level: You need to make sure that your iPhone has enough juice. You also need to note that the usage of any apps like FiLMic Pro, makes complete use of the camera hardware and rains your battery faster.
So, keep a power bank on your hand and keep your iPhone plugged to it while recording video if your iPhone is on low battery levels.
Tip #3: Use a tripod
Unlike professional DSLR cameras, the iPhones do not come with a powerful video stabilization mechanisms. For a video to turn out professional, you need to make use a tripod for recording videos with your iPhone.
There are great tripods for iPhones like Arkon iPhone tripod, may be more than essential for keeping your iPhone steady while shooting videos.
You perhaps may have noticed that, if you are not using a tripod, the video appear bit shaky while in zoomed mode. But using iPhone renders the video crazy steady even while shooting in zoomed mode, although I’d suggest you to avoid zooming while recording video.
Tip #4: Use a professional mic
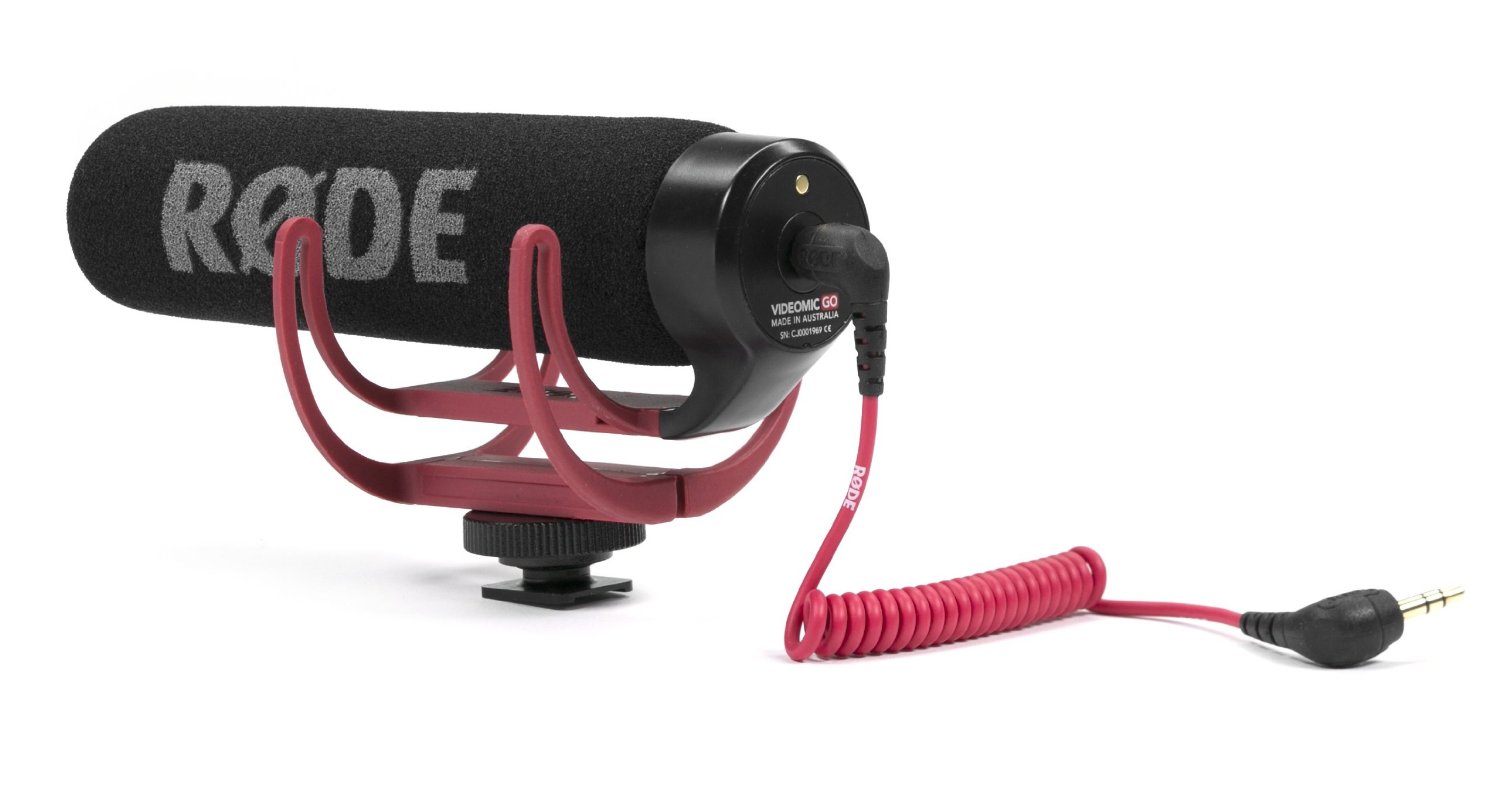 No matter how professional your video is, if the audio quality sucks, people are not gonna watch it. If in your video, the audio is very important. Like if it is a movie short movie, interview, using a good mic for iPhone is very essential.
A good shotgun mic like Rode VideoMic Go is popular among the videographers. It is compatible with both smartphones and DSLRs. You just need to plug in the mic to your 3.5mm jack, perhaps to an adaptor if you’re using iPhone 7 and newer devices.
The shotgun microphones are perfectly suitable for all types of video recording as the audio pickup pattern in very narrow and they’re quite great at rejecting off-axis ambient noise. It is also great at recording audio crisp clear even if the subject is little far from the camera.
Tip #5: Good lighting conditions
A good lighting conditions make drastic positive changes in the quality of your video. iPhones and other smartphones are very poor at shooting videos at low light conditions, due to the hardware limitations then compared to professional DSLRs and Mirrorless cameras.
So having a good lighting conditions is necessary. You may use this LimoStudio Lighting Kit in case if you do videography indoors or in a treated studio environments. I’m using this lighting kit, and it is a great companion for my iPhone and DSLR while shooting in low light conditions.
I can’t stress enough the importance of good lighting while shooting videos.
Bottom line
If you are really serious about videography, I won’t really suggest you shooting from your iPhone. Getting a good DSLR makes a great difference.
However, this post is for people who do casual videography for film making, interviews, and portrait videos.
No matter how professionally you shot the videos, if the video do not undergo good composition, framing, rendering, and other post production processes you videos won’t be professional as it deserves.