How to stream movies or videos to Oculus Go from Mac or PC

I recently bought an Oculus Go as my first foray into VR headsets and one of the things I was really excited to try with it was watching movies. Oculus makes it easy to buy a movie directly from its store, but what if you already own the movie and don’t want to pay for it again? Then what? Well, good news: you can stream your movies from your Mac or PC directly to your Oculus Go and it’s really easy to setup.
As a side note: the movie watching experience in a VR headset is very cool—you’re placed in a virtual movie theater with a huge screen in front of you that makes it feel like you are really at the movies. Additionally, you can get 3D movies that display in VR, and you can also get full VR videos that let you look all around and really feel like you’re there. It’s really neat.
If you are a Plex user, use the Plex client
If you’re a Plex user, you can simply grab the Plex client from the Oculus Store. Open it up, connect to your Plex server, and you’re ready to go. That’s it, super easy.
Not a Plex user? No worries, it’s still easy to setup
If you have a bunch of movies and/or videos (of any type, full VR, 3D, or even regular 2D) on your computer and you just want to stream them over to the Oculus Go headset, the easiest solution is Skybox VR Player. The way this works is by running a small server application on your computer (Mac or PC) where you add the videos, and then, it will allow you to access the video files via the headset (in the Skybox VR Player app).
Setup your computer with the Skybox Server app
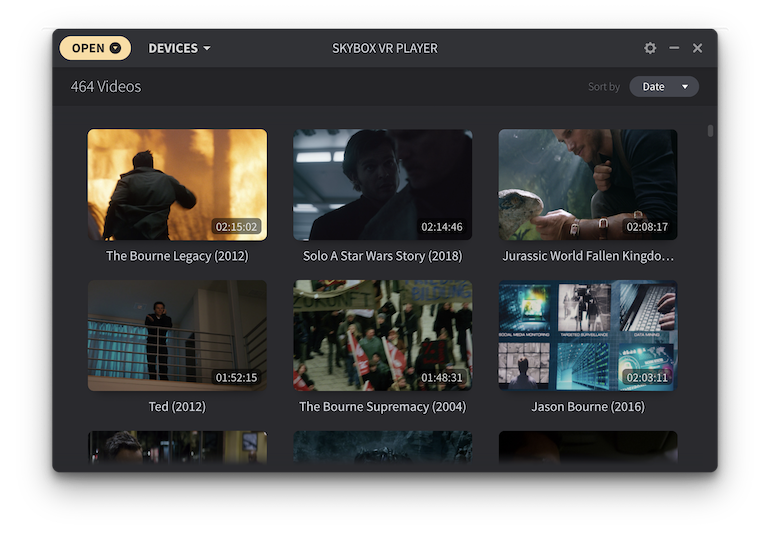
First, download and install the server application. After you have it installed, launch the app, and click the “Open” button. Now, you can add movie files individually, or you can add an entire folder full of movies at once (I personally just added my entire movie folder which has 460+ movies). Skybox will even searches subfolders which is nice.
Now the movies will be added into the Skybox Server and appear in a list sorted by file names. You can also adjust the sorting to use Date or Size if you prefer. I, personally, prefer sorting by Name which is the default. It may take a minute or two for all the thumbnails to be generated but once you see your movies in the list, you’re ready to roll onto the next part.
Install the Skybox VR Player on your headset
With the Skybox Server up and running, it’s time to install the Skybox Player on your Oculus Go. This is also easy—just head to the Oculus Store, find Skybox VR Player, and install it.
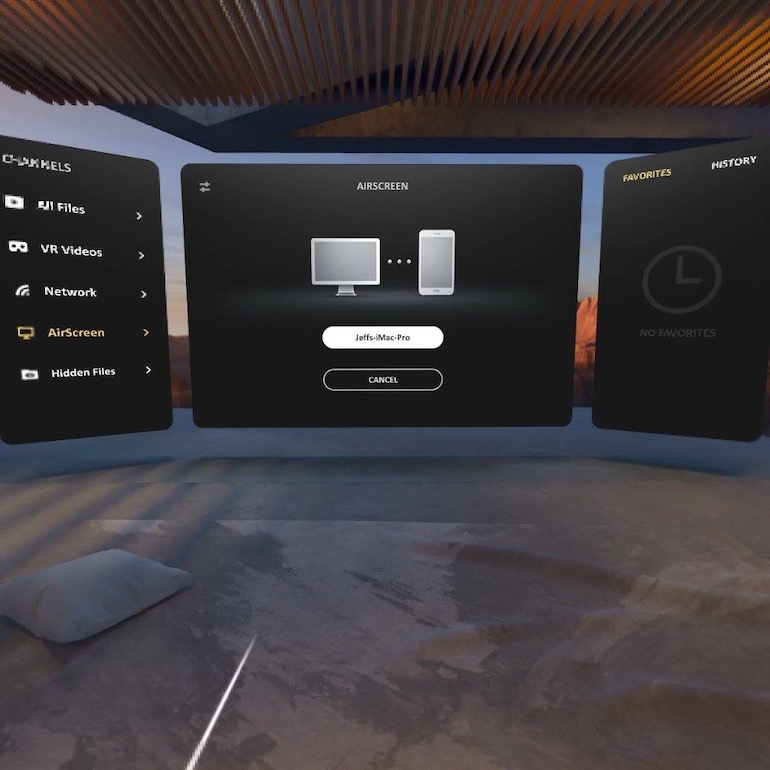
When it’s installed, open the application, look on the left-hand menu for the AirScreen option, then you can search for and connect to your server—which should show up as your PC’s name. You will also notice the Network option in the left-hand menu, I tried to connect to my computer via this method in an attempt to skip having to install the Skybox Server on my computer but I couldn’t get it working, you may or may not have better luck. Honestly, I’d stick with the method I’m outlining here as it’s the most foolproof.
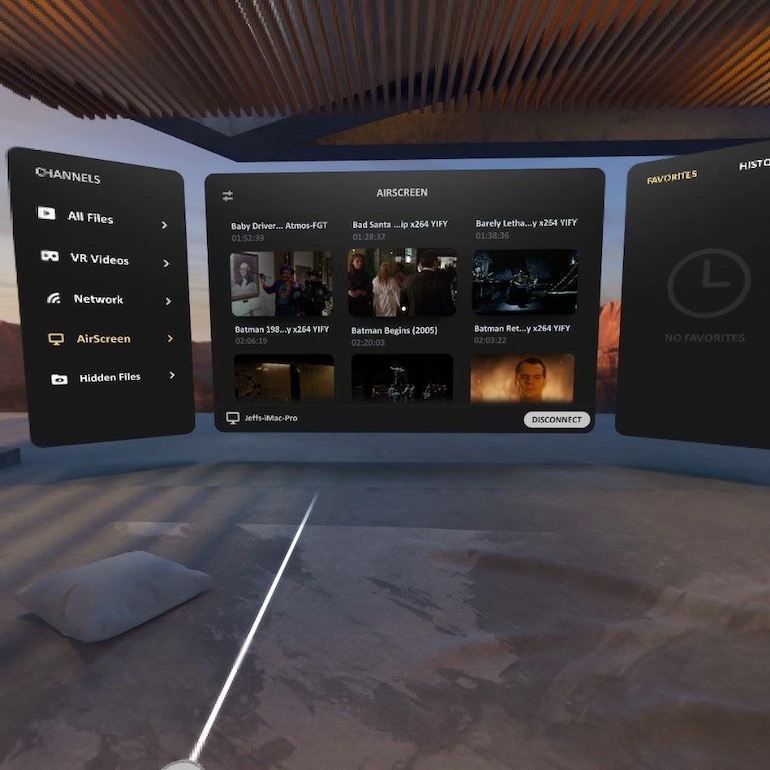
Once you’ve connected to your computer via AirScreen, you should be able to see all of your movies. Just click one to start playback. And that’s it. It should work flawlessly from there.
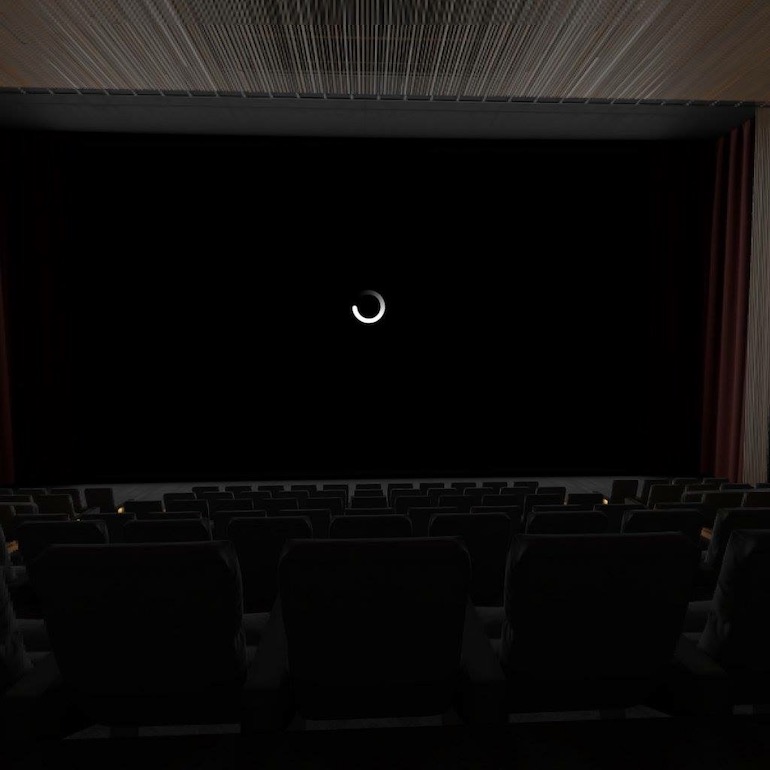
After you’ve selected the movie you want to watch, you’ll be placed in a spiffy movie theater setting where you can sit back, relax, and enjoy the movie. Maybe even grab some popcorn!
How to fix movies not playing in the right format
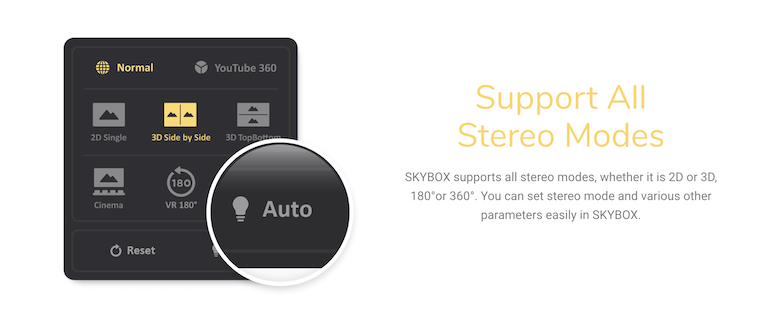
If you’ve got a 3D or VR video that isn’t playing in 3D or VR, you can fix that by pulling up the controls. Just press the trigger on the remote once, and then click the little cube on the far right of the menu. This pops up a window with options for playing in 2D, 3D, or VR mode (and for switching between VR 180 and VR 360). If you’re not sure of the exact format of your video, just keep testing until it looks right.
Lastly, it’s worth noting that Skybox VR Player can also play videos that are local on the device, so if you download something directly on the headset, it will also show up in Skybox under All Files instead of AirScreen.